a plain-English guide
Free icons for classroom visual schedules and routines
A picture schedule helps children see what comes next. Here is what makes a good schedule icon, a ready set of daily-routine pictures you can print today, sizes and laminating tips, and which free symbol sets you can safely share.
- Use a set you are allowed to print and share. MIT and CC0 icons (like with icons) need no credit. ARASAAC (CC BY-NC-SA) and Mulberry (CC BY-SA 4.0) are free symbol sets that need a credit. Boardmaker’s PCS symbols need a subscription and a licence to share widely or sell.
- One picture, one meaning, every time. Pick one style, keep the same picture for the same activity all year, and print the word under it.
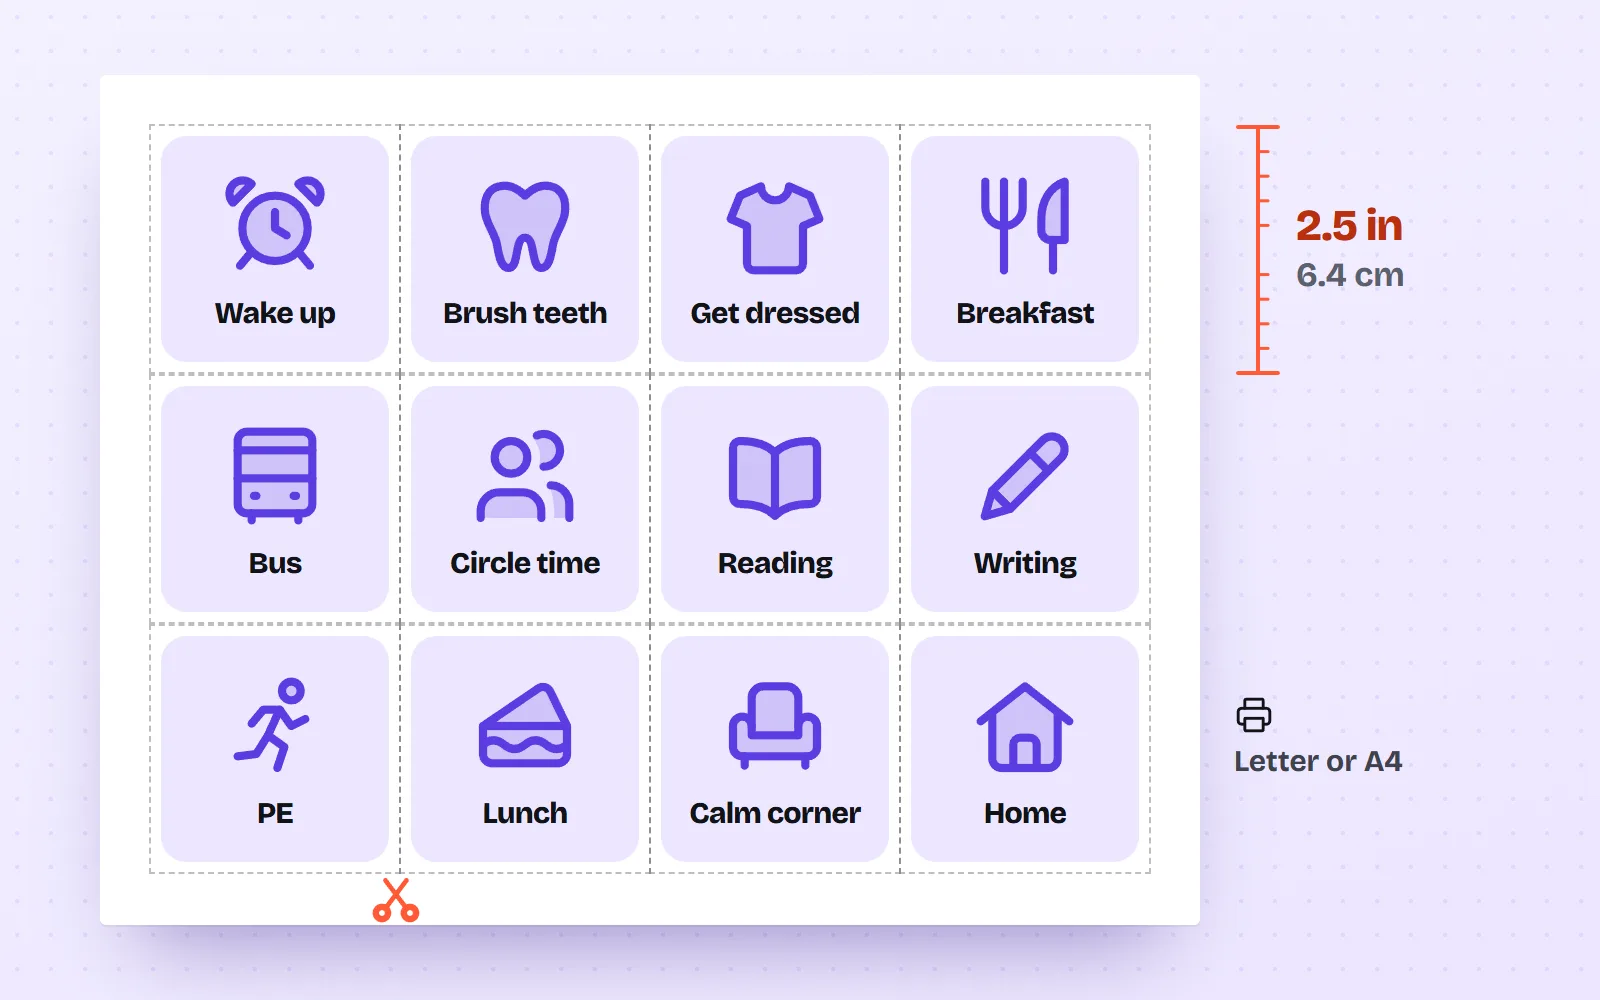
- Print big enough to hold. We suggest cards about 2 to 3 inches (5 to 7.5 cm) for young children; a 1,024 px PNG or a PDF stays crisp at that size.
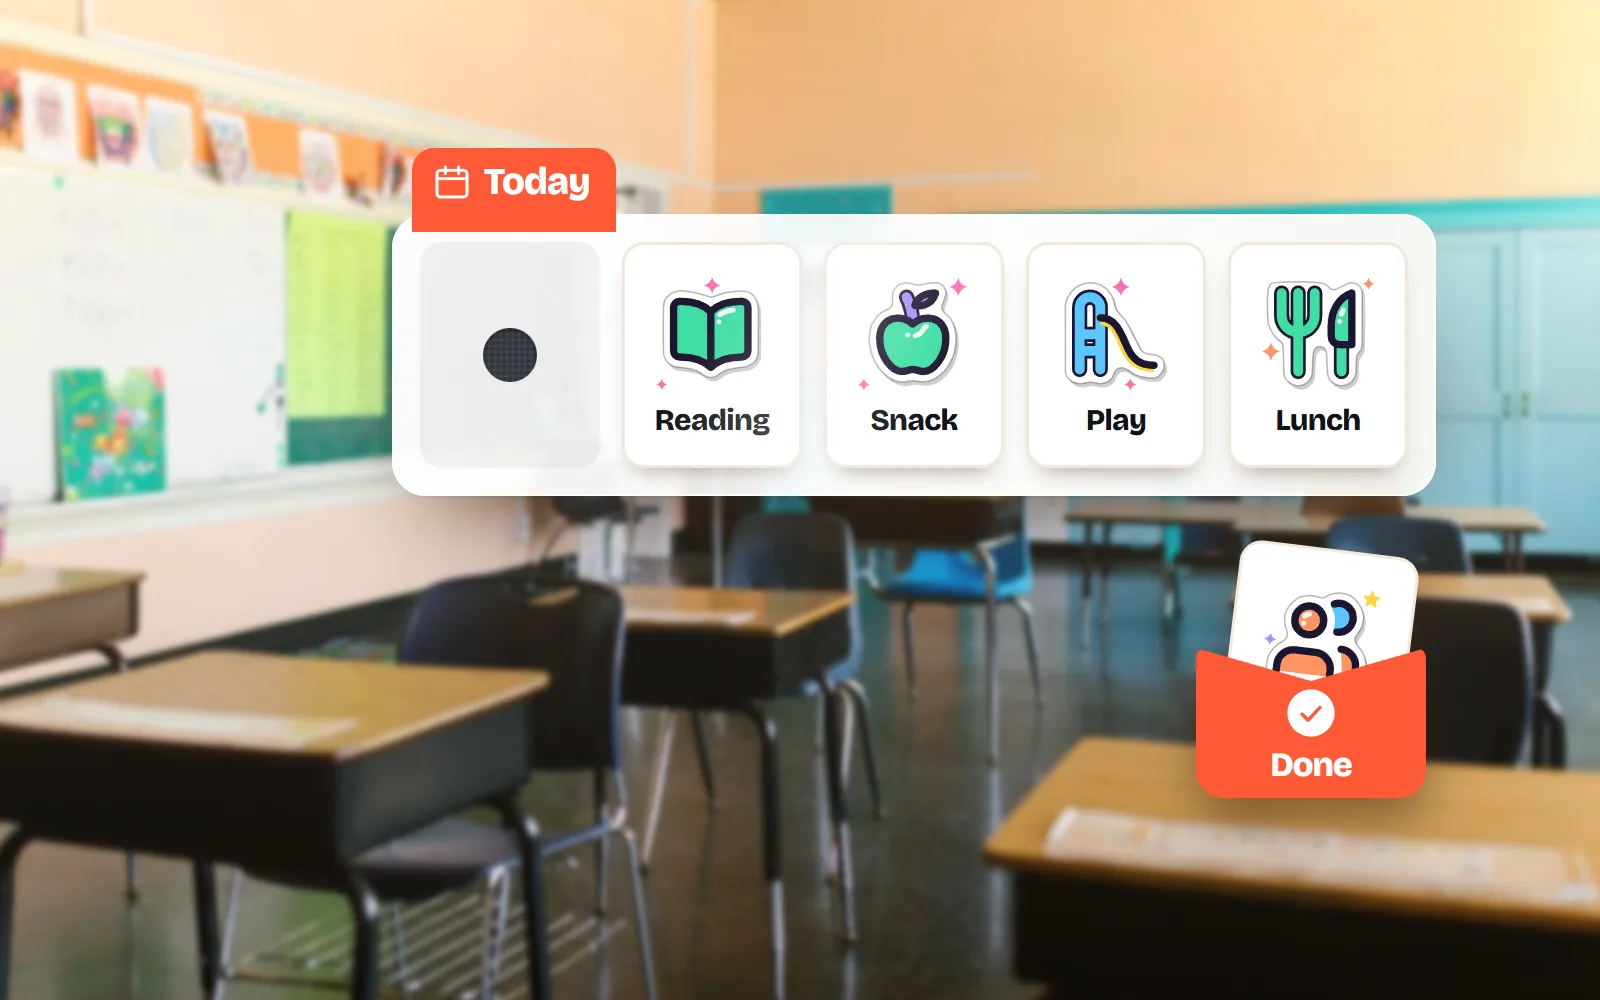
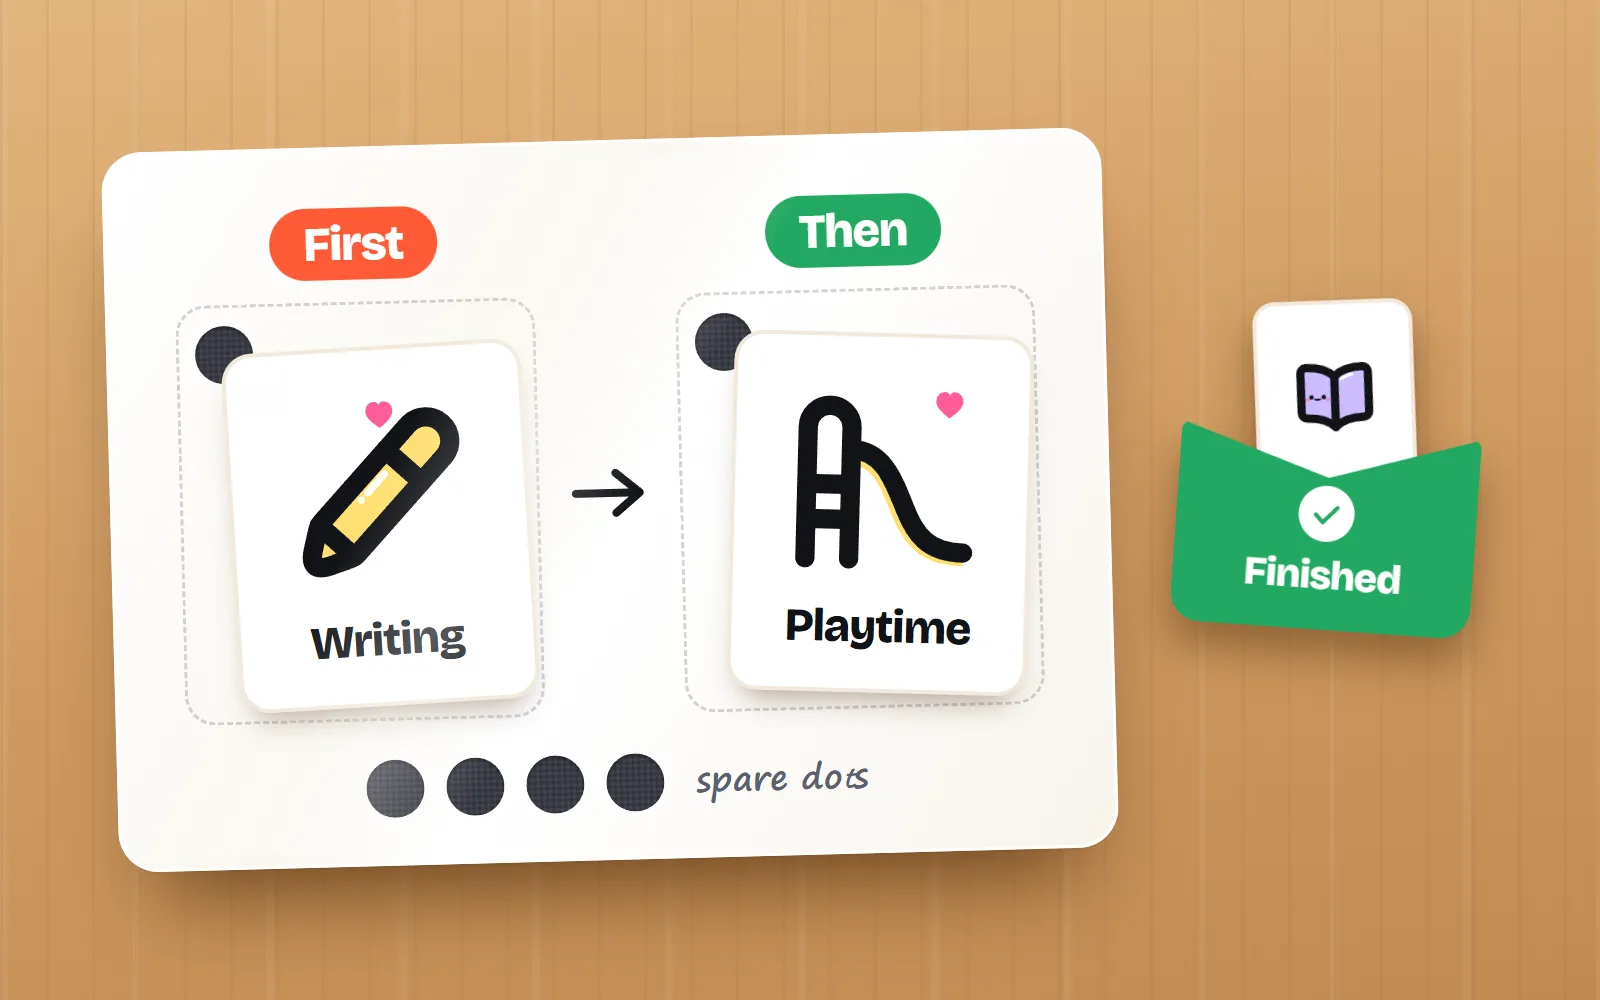
- Laminate, then add hook-and-loop dots so cards can move to a “finished” pocket as the day goes on.
- with icons is not an AAC symbol set. It is great for schedules and labels; for a child’s communication system, follow their speech and language therapist.
On this page 10 sections
The safest free icons for a classroom visual schedule are ones whose licence lets you print, copy and share them: MIT or CC0 icons, such as with icons, need no credit at all. Free symbol sets made for communication, ARASAAC and Mulberry, are lovely too, but they ask for a credit and (for ARASAAC) no commercial use. Boardmaker’s symbols need a paid subscription. Whatever you choose, use one style, one picture per activity, a word under every picture, and cards big enough for small hands.
Many “free visual schedule” link lists online still point to sites that disappeared years ago, or share symbol sheets that are not free to pass on. This guide gives you a working answer for today: a ready set of daily-routine icons from with icons you can print this afternoon, the details that make a schedule actually work, and the honest licence facts for the other sets teachers ask about.
What is a visual schedule, and why does it help?
A visual schedule shows the parts of the day as a row or column of pictures, in order. Children can see what is happening now and what comes next, without having to hold spoken instructions in their head. It helps autistic learners, children learning English as a new language, young children who cannot read yet, and honestly most of us on a busy Monday.
Visual supports, schedules among them, are one of the evidence-based practices covered by AFIRM, the autism training modules from the University of North Carolina’s Frank Porter Graham Institute. The Delaware Network for Excellence in Autism’s guide to making schedules is a practical read: it suggests matching the format to how the learner understands information (real objects, photos, coloured drawings, line drawings or words) and choosing a layout and length that helps rather than overwhelms.
What makes a good visual schedule icon?
- Simple: one clear object or action, no background scene. A toothbrush moment needs a tooth, not a whole bathroom.
- One meaning: each picture stands for one activity, and each activity always uses the same picture. If “lunch” is a sandwich in September, it is a sandwich in June.
- Consistent: every card in the same style and colour family, so children read the meaning, not the drawing.
- Labelled: print the word under every picture. It builds reading, helps adults say the same word, and lets you add a second language for ESL learners.
- Big and high-contrast: bold shapes survive photocopying, laminating and sticky fingers.
Pick one style for the whole schedule, print a word under each picture, keep the same picture for the same activity all year, and teach the schedule by using it every day.
Mix clip art from five websites, use a busy scene for a simple step, change the “lunch” picture halfway through term, or let one picture mean two different things.
A ready set of daily-routine icons
Here is a starter set, all from the same library so they match. Every tile links to its icon page, where you can copy the picture or download it as a PNG in the size and colour you need. The search understands everyday words too: try “toilet”, “lunch” or “bus”.
Here is the same set as a quick reference, with a suggested label for each card. Swap the words for the ones your class already uses: the label should match what adults say out loud.
| Picture and label | Use it for |
|---|---|
| Wake up | The first card of a home routine chart. |
| Brush teeth | Morning and bedtime routines. |
| Circle time | Group time on the carpet, morning meeting. |
| Reading | Story time, guided reading, quiet reading. |
| Writing | Any writing or tracing task. |
| PE | Gym, movement breaks, outdoor games. |
| Lunch | Lunch, wherever it happens. |
| Calm corner | A break or quiet space. |
| Finished | The pocket or envelope cards go into when done. |
Which style should I pick for children?
Every icon comes in 34 styles, so you can choose a look that suits your learners and then stick with it. Clear, bold styles such as Solid or Duo read best from across a room. Softer, friendlier ones such as Kawaii style or Pastel style can feel more inviting for little ones, as long as the object stays easy to recognise.
How big should I print visual schedule cards?
There is no official size, and the right one depends on the child, the distance and where the schedule lives. As a starting point, we suggest:
- Wall schedule for the whole class: 3 to 4 inches (7.5 to 10 cm), readable from the carpet.
- Individual strip or desk schedule: about 2 to 3 inches (5 to 7.5 cm), easy to grab and move.
- Lanyard or “on the go” cards: 1 to 1.5 inches (2.5 to 4 cm), for older children who already know the pictures.
For sharp prints, download a PNG at 1,024 pixels or bigger (that covers a 3-inch card at 300 pixels per inch with room to spare), or use the PDF download, which stays crisp at any size. Our print resolution guide explains why.
How do I make a visual schedule in Word, Google Docs or Canva?
- 1Pick your icons
Search the icon library for each activity, choose one style, and download each as a PNG (1,024 px) or use Copy image.
- 2Make a grid
In Word or Google Docs, insert a table with equal square cells. The Word and Google Docs guide shows how to insert and size icons. In Canva, use a grid frame (the Canva guide covers uploads).
- 3Add the words
Type one short label under each picture, in a clear, large font. Add a second language on a second line if it helps.
- 4Print on card
Use thick card if your printer takes it, or print on paper and laminate.
- 5Laminate and cut
Cut cards out, laminate, then cut again leaving a small sealed border.
- 6Add hook-and-loop dots
Hook side on the schedule strip, loop side on the back of each card, so cards move on and off.
Laminating tips that save you a Sunday
- Leave a border. Cut about 3 to 5 mm outside the card edge after laminating, so the seal holds and corners do not peel.
- Round the corners. Rounded corners last longer and are kinder to small hands.
- Go matte if you can. Matte pouches cut glare under classroom lights, so pictures stay easy to see.
- Print spares. Cards go missing. Keep a spare sheet of the most-used ones (lunch, toilet, home) in a folder.
- Add a “finished” pocket. An envelope at the end of the strip, marked with a check, gives children a clear way to move a card when an activity is done.
Which free picture symbol sets can teachers use, and what do the licences say?
Here is the part link lists skip. “Free to download” is not the same as “free to share or sell”, and that matters the moment you post a schedule pack online or hand it to another school.
| Source | Free? | Credit needed? | Share or sell what you make? |
|---|---|---|---|
| with icons (MIT) | Yes | No | Yes, share and sell freely |
| Mulberry Symbols (CC BY-SA 4.0) | Yes | Yes, when you share | Yes, but derived symbols stay CC BY-SA and the symbols themselves must stay free |
| ARASAAC (CC BY-NC-SA) | Yes | Yes, author, owner, ARASAAC and licence | Non-commercial only; share under the same licence |
| Boardmaker PCS (Tobii Dynavox) | Subscription | Licence terms apply | Own students: generally fine. Sharing publicly or selling needs a PCS licence |
| Random images from a web search | Unknown | Unknown | Avoid: no licence means no permission |
Mulberry is designed for communication and published under Creative Commons BY-SA 4.0: you can use it in products, commercial or not, as long as you credit it and share any new or changed symbols under the same licence, and you may not charge for the symbols themselves. ARASAAC, from the Government of Aragón, is CC BY-NC-SA: free for non-profit use with a credit to the author, Sergio Palao, the owner and ARASAAC, and never in commercial products.
Boardmaker’s Picture Communication Symbols are proprietary. Tobii Dynavox says a teacher using them in their own classroom materials probably needs no extra licence, but sharing or selling PCS materials does. Its Maker Personal licence for selling on sites such as Etsy or TPT costs USD 149, and every licence requires a Boardmaker subscription first.
Tips for ESL and autistic learners
- Same word, same picture, every adult. Agree the labels as a team so the teaching assistant, specialist and parents all say “calm corner”, not three different things.
- Two languages, one card. Put the home language under the English word. The picture bridges both.
- Show changes before they happen. Swap in a card for an assembly or a supply teacher at the start of the day.
- Keep it calm. One style, plenty of white space, no decorative clutter. Our accessible icons guide explains why contrast and simple shapes matter.
- Follow the learner. Some children need photos of the real place first; others are ready for a written list. Let them lead.
Frequently asked questions
Are there free Boardmaker alternatives for visual schedules?
Yes. ARASAAC and Mulberry are free pictogram sets made for communication, and general icon sets with open licences, such as with icons (MIT), work well for schedules and classroom labels. Check each licence: ARASAAC is non-commercial only and needs a credit, Mulberry needs a credit when you share materials, and MIT needs nothing.
Can I share or sell visual schedules made with Boardmaker symbols?
Using PCS symbols with your own students under your school’s Boardmaker subscription is generally fine. Tobii Dynavox says selling or publicly sharing PCS materials needs a licence: Maker Free for free public materials, Maker Personal (USD 149) for selling on sites such as Etsy or TPT, and both require a Boardmaker subscription.
Is ARASAAC free for teachers?
Yes, for non-profit use. ARASAAC pictograms are published by the Government of Aragón under CC BY-NC-SA: you must credit the author (Sergio Palao), the owner and ARASAAC, share anything you make under the same licence, and not use them in commercial products.
What size should visual schedule cards be?
There is no single rule; it depends on the child and where the schedule lives. We suggest starting around 2 to 3 inches (5 to 7.5 cm) so little hands can grab them, bigger for a wall schedule and smaller for a lanyard. Print a test card and watch whether the child can see and handle it.
Should a visual schedule use photos, drawings or icons?
Use what the learner understands. Guidance from the Delaware Network for Excellence in Autism lists real objects, photos, coloured drawings, line drawings and text as options. Clear, simple icons suit many children; some need photos of the real place or object first.
Can I use with icons on schedules I sell on TPT?
Yes. The MIT licence allows use in products you sell, with no credit needed. Just sell your finished schedule pack, not the loose icon files.
Sources and notes
- AFIRM (UNC Frank Porter Graham): Visual Supports, evidence-based practice module, checked Nov 2026
- Delaware Network for Excellence in Autism: Creating visual schedules (PDF), checked Nov 2026
- ARASAAC: Terms of use (CC BY-NC-SA), checked Nov 2026
- Mulberry Symbols: Licence (CC BY-SA 4.0), checked Nov 2026
- Tobii Dynavox: PCS (Picture Communication Symbols) licensing, checked Nov 2026
- Tobii Dynavox: Boardmaker terms of service, checked Nov 2026
- with icons licence (MIT), checked Nov 2026
Facts about other icon sets were checked against their official sites in November 2026. Libraries change, so check the links above for the latest numbers.